|
|
#1 |
|
BassFishin.Com Super Veteran
Join Date: Apr 2005
Location: WA State
Posts: 1,783
|
Hey guys! I don't appear to have the means to edit my original post on this topic with the updated photo bucket links so here it is for those who might be interested in wanting to dress treble hooks.
It is not only fun, but also allows you to customize the colors and materials you want to use. May you find it helpful. -ib How to Dress Trebles By islandbass This purpose of this tutorial is to demonstrate how I dress treble hooks with feathers and other materials such as bucktail, flashabou, or other materials. I am not an expert. I am a relative newbie to making them. This tutorial was put together to with the hope of sharing with the reader the steps I take to make dressed trebles based on my experience making them to date. Tools Used: Fly Tying Vise – Nothing fancy. The one I use is a cheap, low-tech sub $20 vise Scissors From Left to Right: Hair Stacker (Optional) Bobbin Threader Bodkin Trebles Dressing Materials Used and Other Items: Head Cement (glue) Dressing Items: Feathers (chicken feathers preferred), Flashabou, Bucktail*, etc. Thread for tying (size 6/0) Small plastic grocery bag (for waste material) Roll of Tape (masking, packing, etc.) Napkin *Only flashabou and feathers were used in this tutorial. 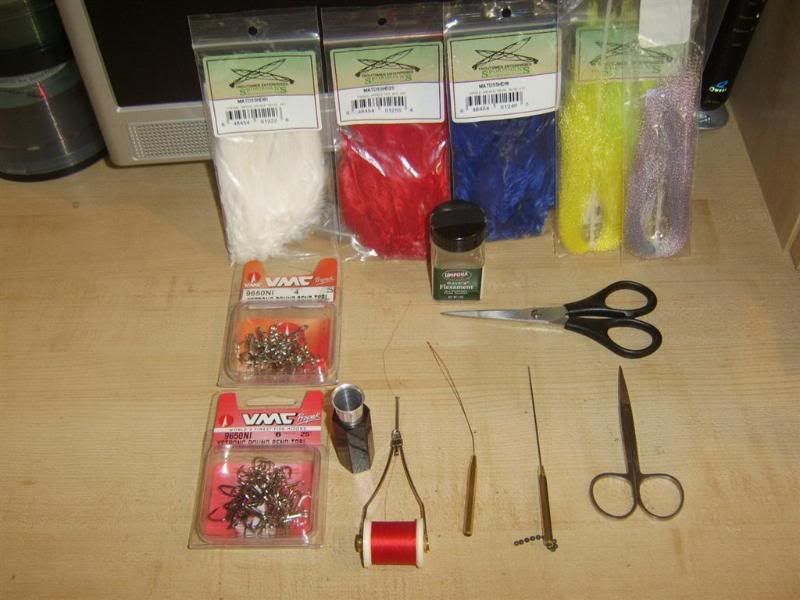 Preparation of Tools and Hook 1) Securing Vise to Table and Treble to Vise Now that you have everything you need, set up your vise and secure the hook. The hook should be fastened to the vise in the bend somewhere between the hook’s shank and the barb. The jaws of the vise should not cover the barb. 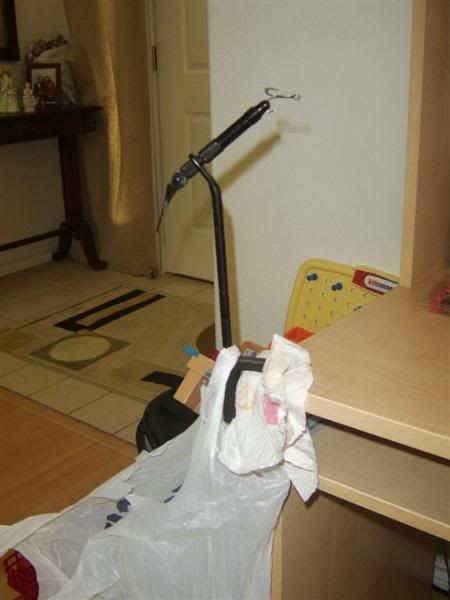 Note: If you are married and value the hard work that your wife does to keep the house clean, I highly recommend you do this in the garage. Dressing trebles and other fly tying materials is a guaranteed way to make a mess. 2) Preparing Bobbin with Thread Add the spool of thread to the bobbin. Then insert the threader through the bobbin’s long narrow cylinder. Put the thread between the wires of the threader and pull the threader out of the cylinder. If done correctly, the thread will have been pulled through the bobbin. Preparation of the Materials 3) Sizing the Materials I like to cut the materials to size that I am going to tie first. In this case it means cutting the feathers and flashabou to length. I won’t go into detail, but the alternative would take up more time. There is no real science as to what length you should cut the materials. As a rule of thumb, the bigger the hook the longer the material should or could be. I “eyeball” everything I cut. This is something that you will gain through experience. Preparing the feathers Once again there is no real science for preparing the feathers. I have learned that it is best to cut the thickest part of the feather’s stem off. It is easier to work with the part of the feather where the stem is thinner. The length of the feather is up to the tier. The feathers in this tutorial were cut to approximately twice the length of the treble. 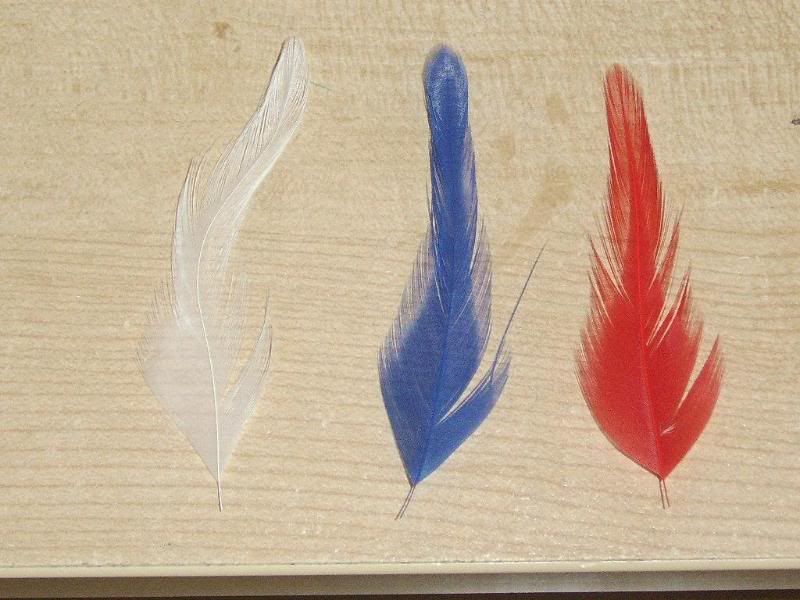 In the picture above, you can see that the bottom of the feather’s stem is clear of feathers. This is the part of the feather that will be tied to the treble. While you can use scissors to trim unwanted feathers, I find it easier to tear off the feathers by hand. It also looks cleaner. When the feather is laid on the treble, make sure that this stem does not extend passed the hook’s shank and eye meet. The thread will not cover any part of the feather’s stem above the shank. Preparing the Flashabou The Hair Stacker is not necessary but it can come in handy to help put the bucktail or flashabou tips on the same plane. In the picture below, I am placing the flashabou in the hair stacker 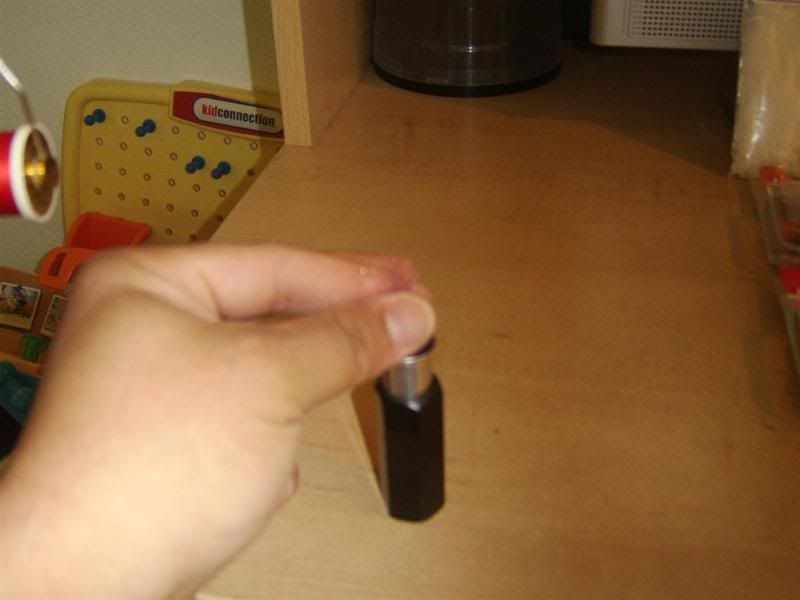 Place the flashabou into the barrel of the hair stacker and bang the base of the stacker on the table a few times. The material will slide down the stacker until it reaches bottom of the stacker. Turn the stacker on its side and remove the base. The exposed hair tips will be even. Let’s Get to Tying 4) Adding Thread to the Hook Hold the thread in one hand and place it on top of the shank about one-third of the way from the bottom hook’s eye. While holding the thread to the shank (pull thread downward), take the bobbin with the other hand and begin wrapping the thread onto the shank toward the eye of the hook about 10-15 times. Then, start wrapping the thread back to the point where you started the wrap. The thread should be fairly secure to the shank. Cut off the excess. 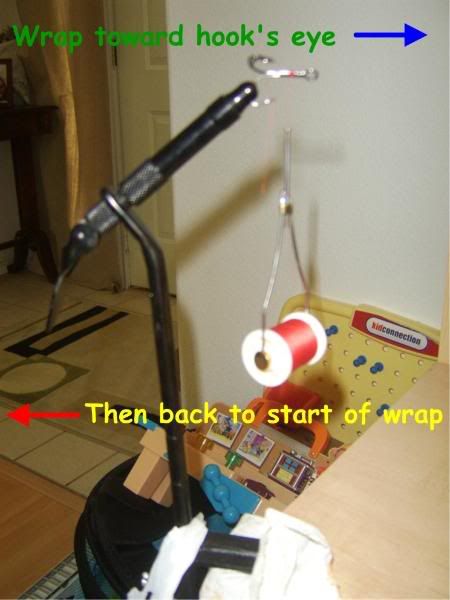 5) Adding the Materials to the Hook Take just a little of the flashabou and place it between two of the treble’s bend. The end of the flashabou should not extend past the eye of the hook. You will not be able to cover any material passing the shank with the thread.  Grab the bobbin and carefully begin wrapping the thread around the shank toward the hook’s eye. Next, wrap back to the starting point. If you have realized that wrapping toward the hook’s eye and back is the basic procedure to follow when tying, you’re definitely correct! In the picture below you can see that the flashabou has been tied on and the bobbin is back in the starting position. Repeat this process to add the flashabou to the two remaining sides.  Note: Not all vises are equal. More expensive vises can rotate the treble to tie the other sides without removing the hook. I do not have this luxury with my vise so I rotate the treble by removing it from the vise and fastening the next side. Another Tying Method: There is another way to tie in the flashabou. It will involve using half as many pieces strands of flashbou that you want to use, but twice the length. With the thread on your bobbin already on the treble, hold the bobbin in such a way (vertically is good, above the treble) that the thread is taut. Keeping the flashabou strands together wrap them around the taut thread so that the thread bisects the flash, or in layman’s terms, the thread divides the strands into two equal sides. Bring the strands down to the shank and start wrapping. Repeat the same procedure to tie on the feathers 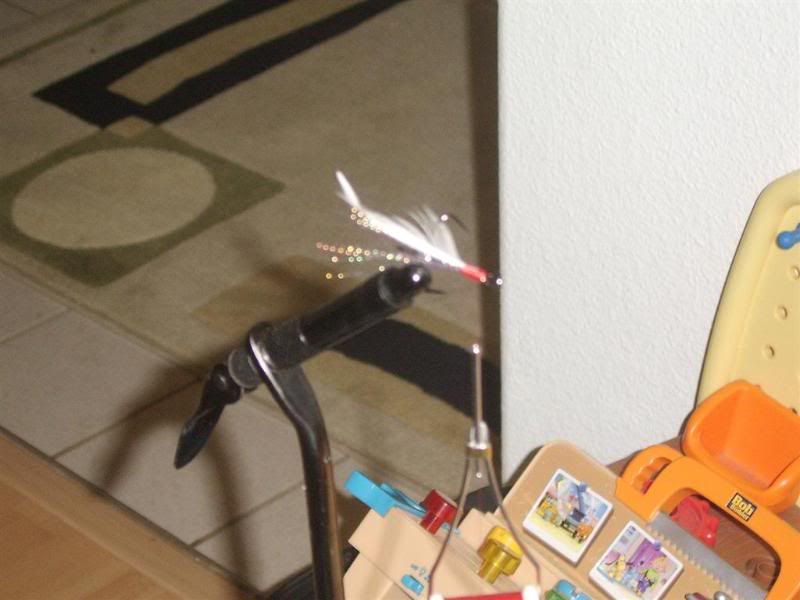 Above, the flashabou has been tied to all three sides and the first feather. 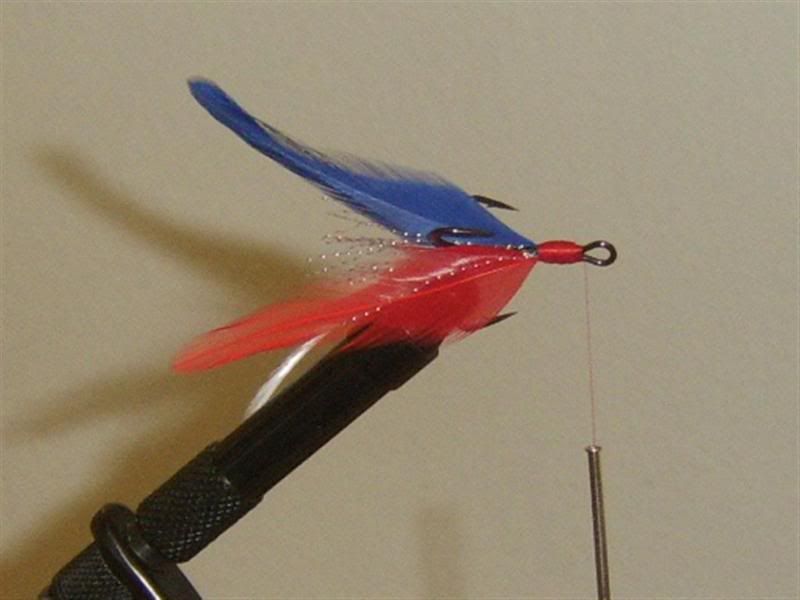 After you finish tying the materials in, complete the wrapping process by bringing the thread to the point just under the hook’s eye as shown in the photo above. The next step is to tie the Whip Finish by hand. It is actually very easy to tie. Unfortunately, it is very difficult for me to describe. So please refer to the link below and watch the Hand Whip Finish video. I believe it is also downloadable. I would like to thank the folks at flyfisherman.com for what I believe is the finest how to video in tying the Whip Finish. http://www.flyfisherman.com/ftb/jbwhip/ After you tie the Whip Finish, cut off the unneeded thread.  6) Sealing the Deal The last step is to add the Head Cement (glue) to secure the knot and wrapped thread. Add some glue to the bodkin’s tip. The bodkin is the thin, long, pointed shaft I am holding in my right hand. 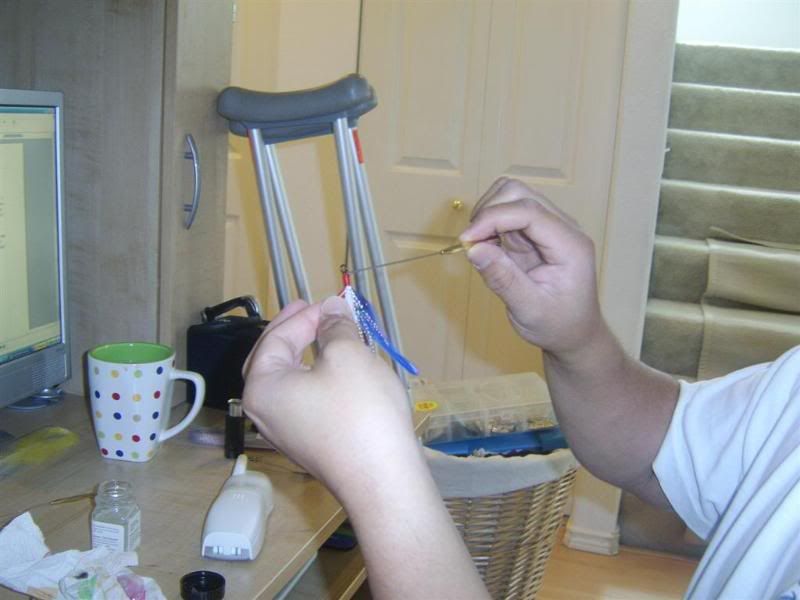 I start by applying cement to the area where the whip finish was tied. The image below is a close up of this area. Next, I cover the thread inside the hook’s eye. Finally, the rest of the thread is covered with cement. Use the napkin to wipe off the excess glue from the bodkin. 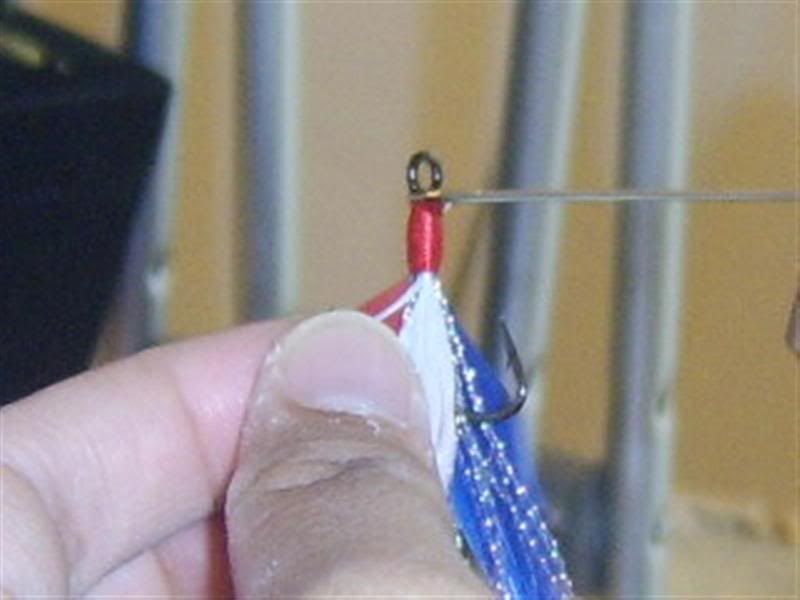 Spread the cement carefully and evenly with the bodkin. Allow the cement to dry. It will take just a few minutes. You may place the treble back into the vise to dry. You can use the tape to collect waste materials that have fallen on the floor. The adhesive on the tape makes clean up of scrap feathers and flashabou a breeze without a vacuum. Congratulations, you are finished!! 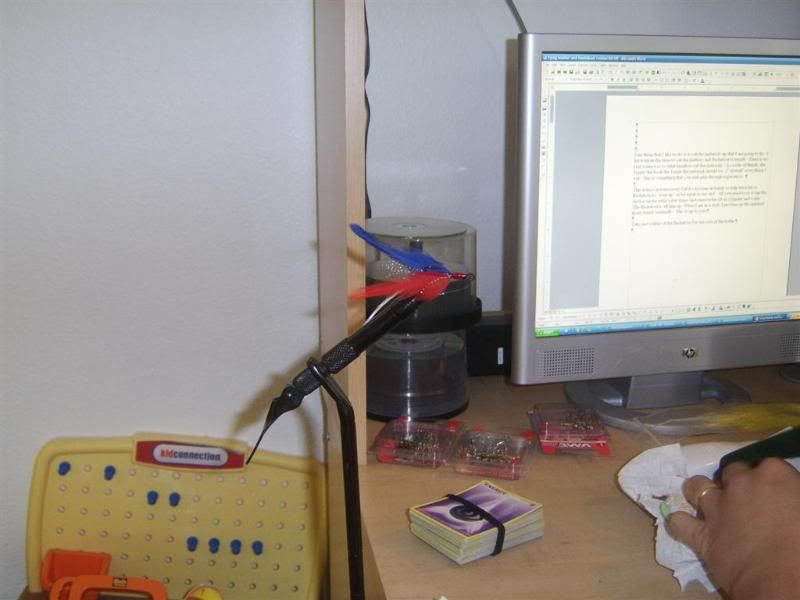 I thank my daughter and son for their help in putting this together. They were instrumental in helping me cut the materials and taking the photos. Thank you for reading. Hope this helps you to get started in making your own dressed trebles. Now go on and shake your tail feather! -Alexander Arceo
__________________
ARX "If people concentrated on the really important things in life, there'd be a shortage of fishing poles." Doug Larson (Shimano 2005 Reel Catalog) |
|
|

|
|
Disclosure / Disclaimer
Before acting on the content posted, you should know that BassFishin.Com may benefit financially and otherwise from content, advertising, links or otherwise from anything you click on, read, or look at on our website. Click here to read our Disclosure Policy and Disclaimer. |
| Currently Active Users Viewing This Thread: 1 (0 members and 1 guests) | |
|
|