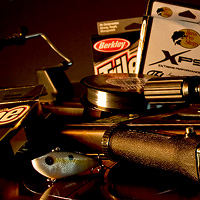
The BassFishin.Com Fishing Line Guide
May 5, 2011 by Kevin ScarselliWith the myriad of lures and techniques today, an angler needs to be well informed on which line types and sizes are most effective for various presentations. The BassFishin.Com Fishing Line Guide sets out to answer the most important questions about fishing line selection.
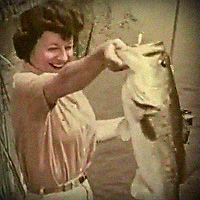
Awesome Vintage Fishing Tackle Videos and Commercials
May 4, 2011 by Kevin ScarselliCheck out these “fresh from the archives” videos all about vintage fishing tackle and old reels. For many of you, this will be an enjoyable blast from the past. And for you younger anglers, you’ll be in for a great laugh! Watch now…
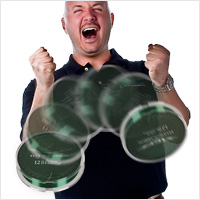
Join Me In Standing Up Against Line Manufacturers!
May 17, 2010 by Kevin ScarselliA recent phenomenon in fishing line has Kevin furious with fishing line companies and manufacturers! Discover what they are doing that is frustrating anglers and what you can do to help bring the necessary change…

The Definitive Guide to Bed Fishing – Part I
April 12, 2010 by Kevin ScarselliWith this guide, you will discover the little-known tactics and tricks for not only spotting bass and beds underwater, but the techniques for getting a bed fish to bite.
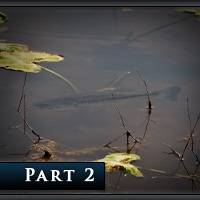
The Definitive Guide to Bed Fishing – Part II
April 12, 2010 by Kevin ScarselliIn Part 2, you’ll discover the tricks pro’s use to easily see underwater. Seeing underwater is a critical skill a top gun sight fisherman must have. With these tactics, you’ll improve your skills tremendously…

The Definitive Guide to Bed Fishing – Part III
April 12, 2010 by Kevin ScarselliIn Part 3, you will uncover the best strategy for scanning and spotting bass and beds. Real life example photos included! Most anglers get this entirely wrong, so make sure you aren’t one of them…

The Definitive Guide to Bed Fishing – Part IV
April 12, 2010 by Kevin ScarselliIn Part 4, you will discover the modern tactics and lures for catching bedding bass. Uncover the strategies for fishing the male and female bass and the exact sequence and rotation of lures to use…

Introducing Hollow Core Braid For Bass Fishing
March 31, 2010 by Garry ThorntonAre you always looking for an edge over the competition? Discover what we believe will be a revolutionary fishing line system in the bass industry and how you can start gaining that edge today with these brand new products just hitting the market…

Announcing: New Caption It! Cartoon Contest
March 18, 2010 by Kevin ScarselliA new Caption It! Fishing Cartoon Contest has been launched and the previous contest has been judged. We encourage everyone to try their luck at winning a prize by coming up with the funniest caption to a captionless fishing cartoon. And check out the funniest captions…

An Effective Winter Lure: The Lipless Crankbait
March 10, 2010 by Kevin ScarselliUncover the little-known strategies and techniques for using lipless crankbaits in the cold of winter! When water temps dip below 55 degrees, your selection of effective lures narrows significantly. Here you’ll discover why the lipless crankbait is at the top of the list.


